

Pro-tip: go ahead and add the first initial to the name tags to make things easier for siblings!
In a previous post, I talked about how we give out handbook covers to our Scouts crossing over from Cub Scouts to Scouts BSA. This means every year I need to add names and troop numbers to each one. This solves two problems: it allows the Scouts to tell their handbooks apart, and it aids in getting the handbooks back to us if a Scout leaves it at camp.
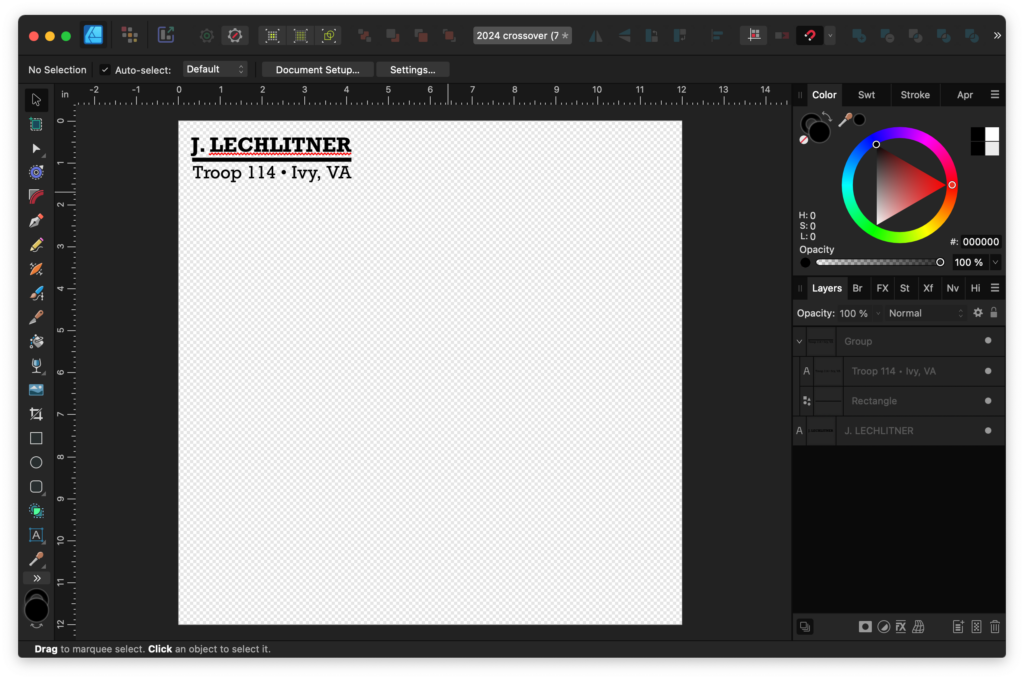
I start out in Affinity Designer, but Adobe Illustrator or Inkscape work just as well. I create a canvas that is the size of my Cricut mat, which is 12″ x 12″. I can move the labels around so that I know they fit inside my vinyl sheet. I would definitely recommend a vector-based image generator, because you can scale it as needed. Here you can see that I am just generating one label for a Scout who decided to join the troop after crossover. Be sure to leave at least 1/4″ all around your work surface or else Cricut will complain. You can see here that I am creating 4″ wide labels which fit nicely on the handbook cover.
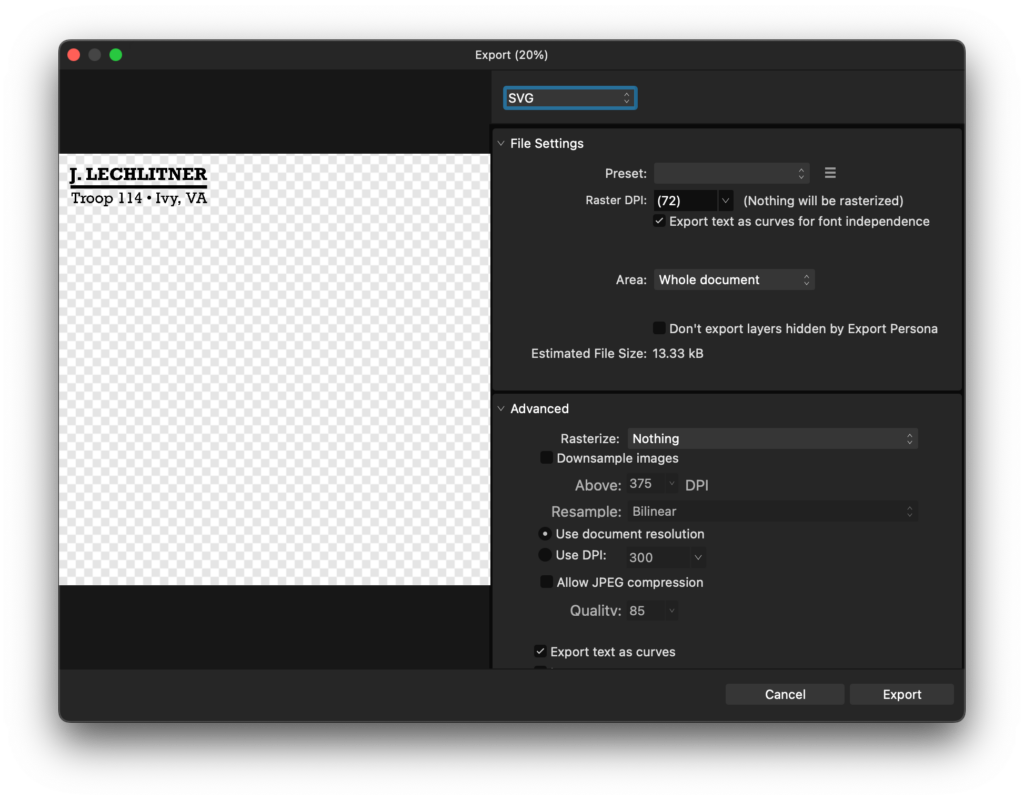
Once you have all your labels ready, it’s time to export as SVG. Make sure you check the option to ‘Export text as curves for font independence’. It will save you lots of trouble later in Cricut Design Space.
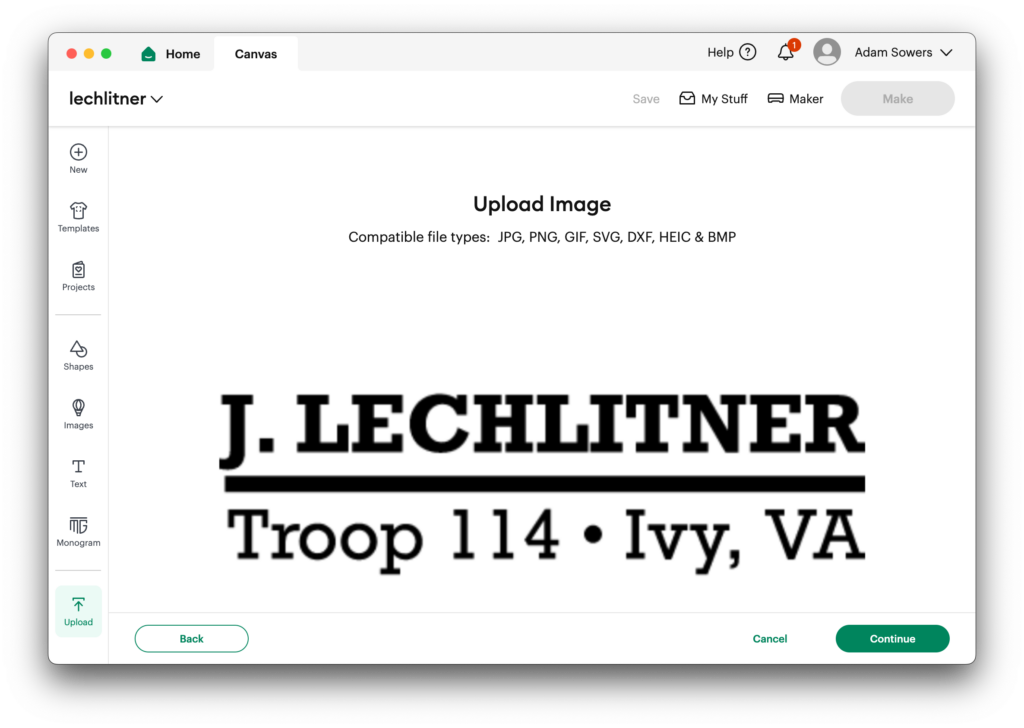
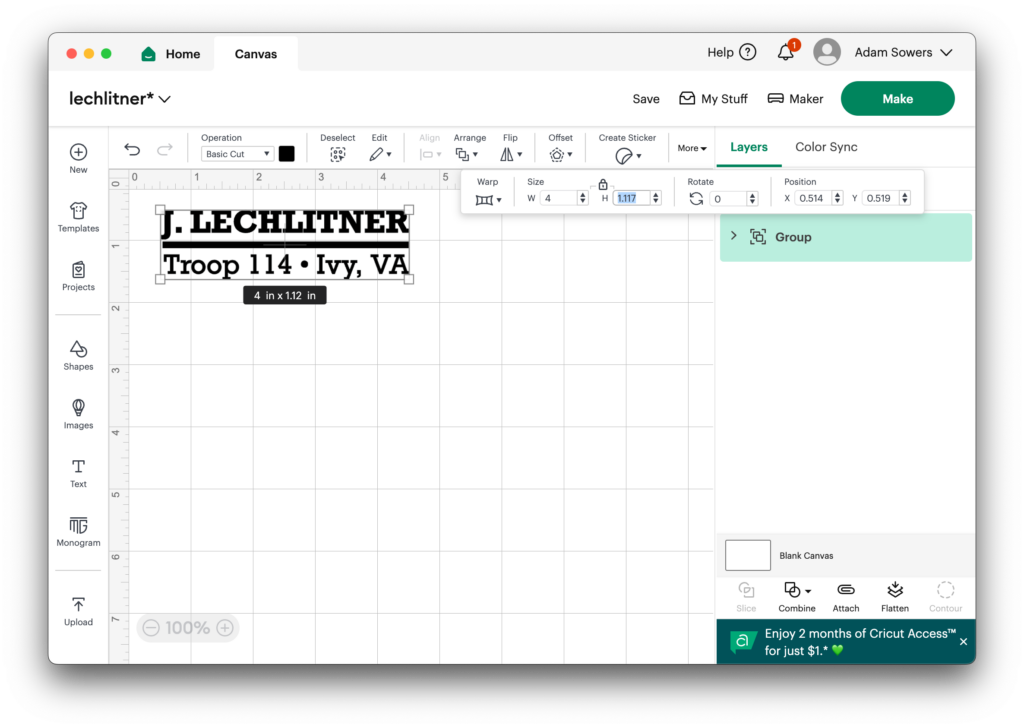
Cricut Design Space can be a pain to use, so I prefer to do as much as I can in Affinity Designer first. That said, we are ready to import the SVG. You can see here that Cricut Design Space has ignored that I have a 12″ x 12″ file exported and gone straight to the label. That’s fine; I know my label needs to be 4″ wide so I can adjust it later.
Cricut has decided to import this at a ludicrously small size. I can’t explain why because I haven’t found a method to its madness.
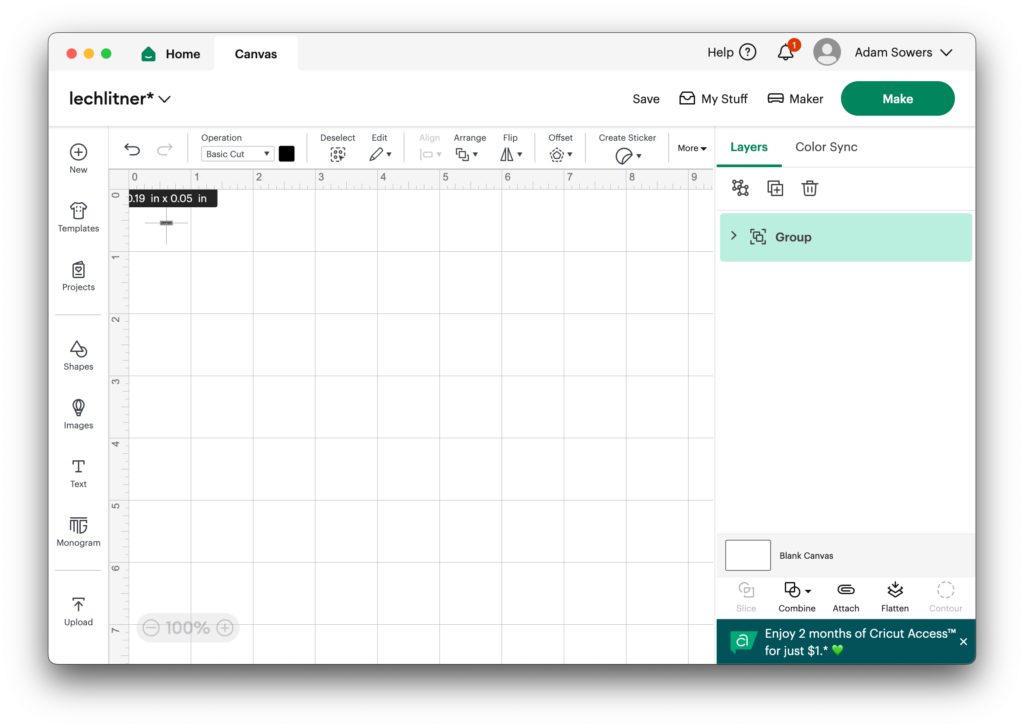
After manually setting the width to 4″, all is well.
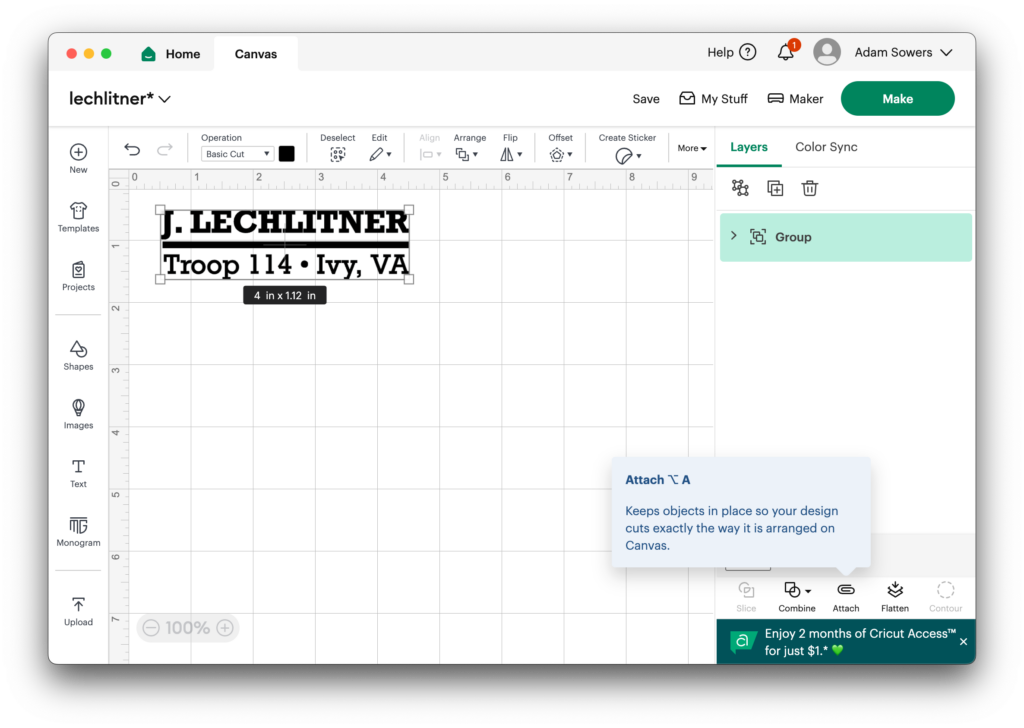
Next, you want to attach the letters together, or else Cricut Design Space will cut them out ignoring the layout. You almost certainly do not want this. Click ‘Attach’ in the bottom-right on the group.
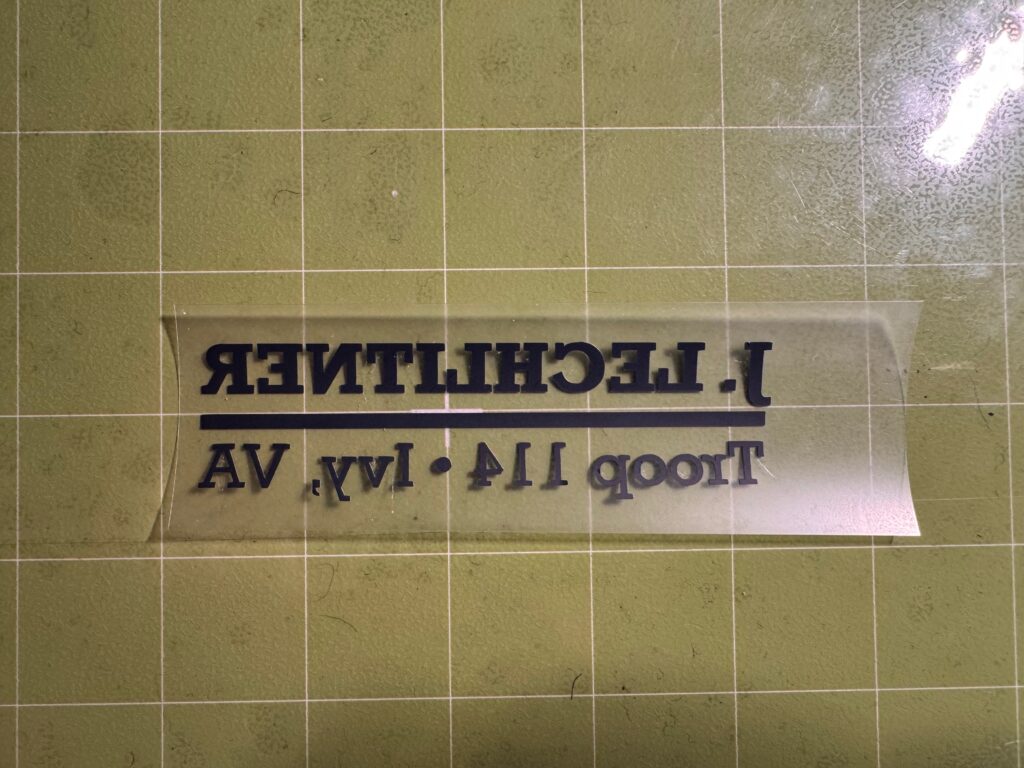
Now, click ‘Make’. Be sure to check the ‘Mirror’ option in the following dialog.
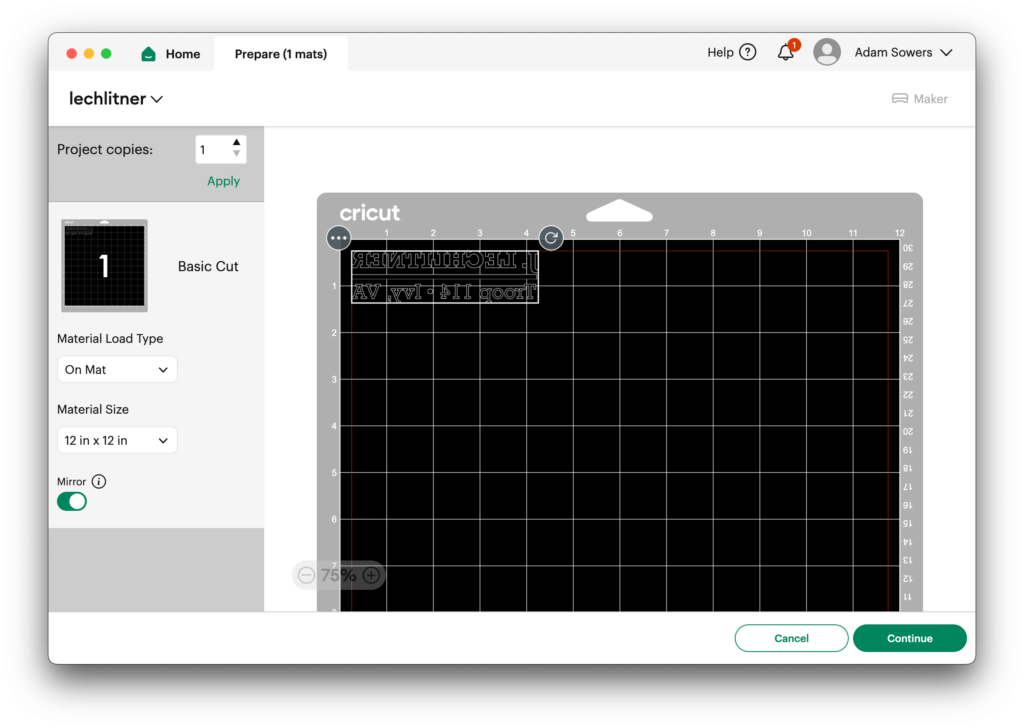
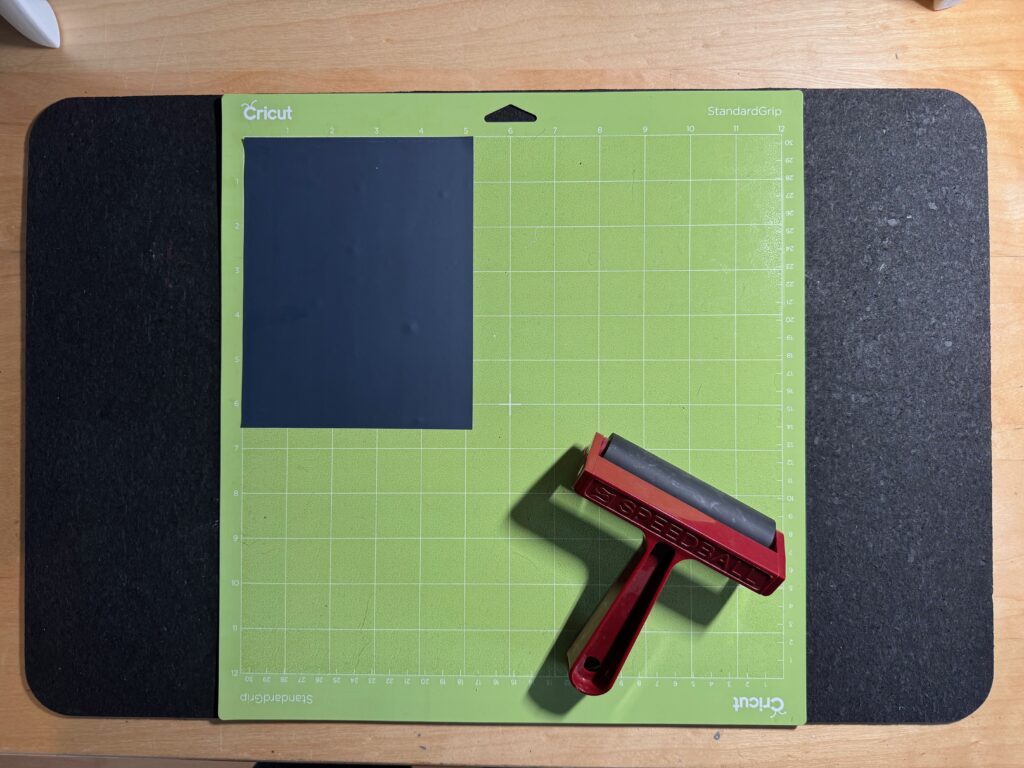
This is because you want it to cut away from the clear plastic, and once you weed it, you can lay the clear plastic on your handbook cover surface. This is a good time find a scrap piece of vinyl that will fit the piece you are about to cut, because you can see on the screen how wide it needs to be. I would also recommend using a brayer like this Speedball which I purchased in 2015 and is still going strong after lots of projects.
Continue through the wizard, selecting vinyl and let your Cricut cut out the design. After weeding, it should look something like this:
Now it’s time to prepare the handbook cover. I find it’s a delicate balance between getting the vinyl to adhere, and melting the plastic of the cover itself, so it is a good idea to have a flat surface to press against.
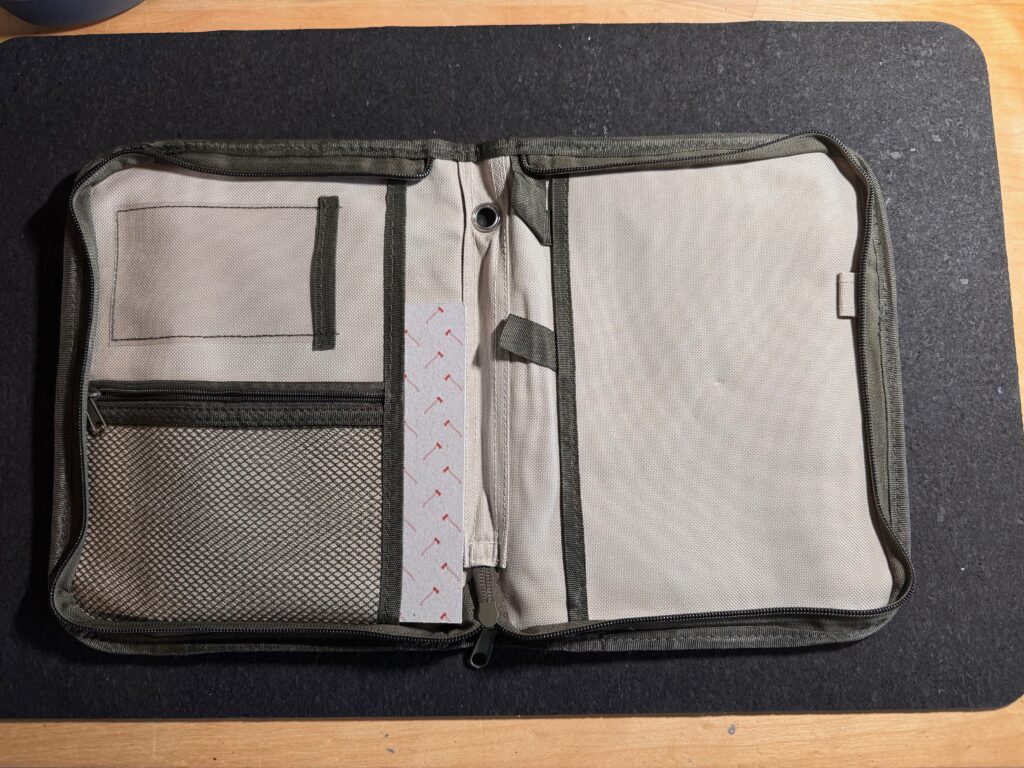
In my case, I found that the book that accompanied my Gränsfors Bruk hatchet is nearly perfect. Align it as close to the spine as possible, and move the zipper all the way to the left as shown. Now it’s time to turn it over and begin the process of ironing the vinyl onto the cover.
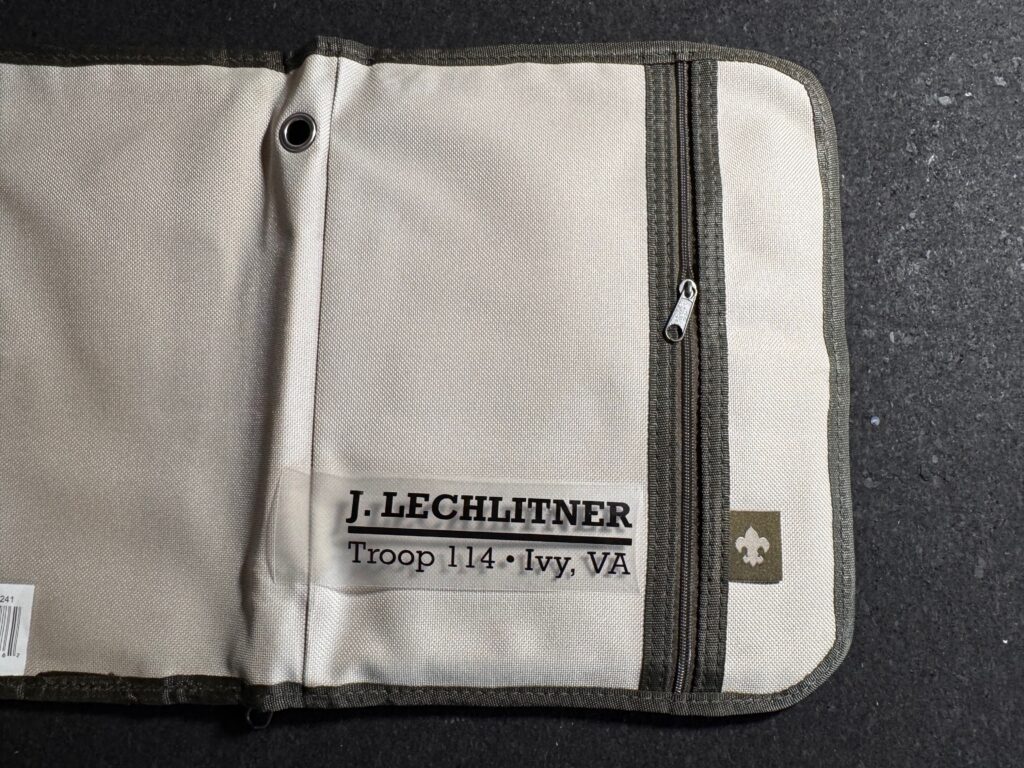
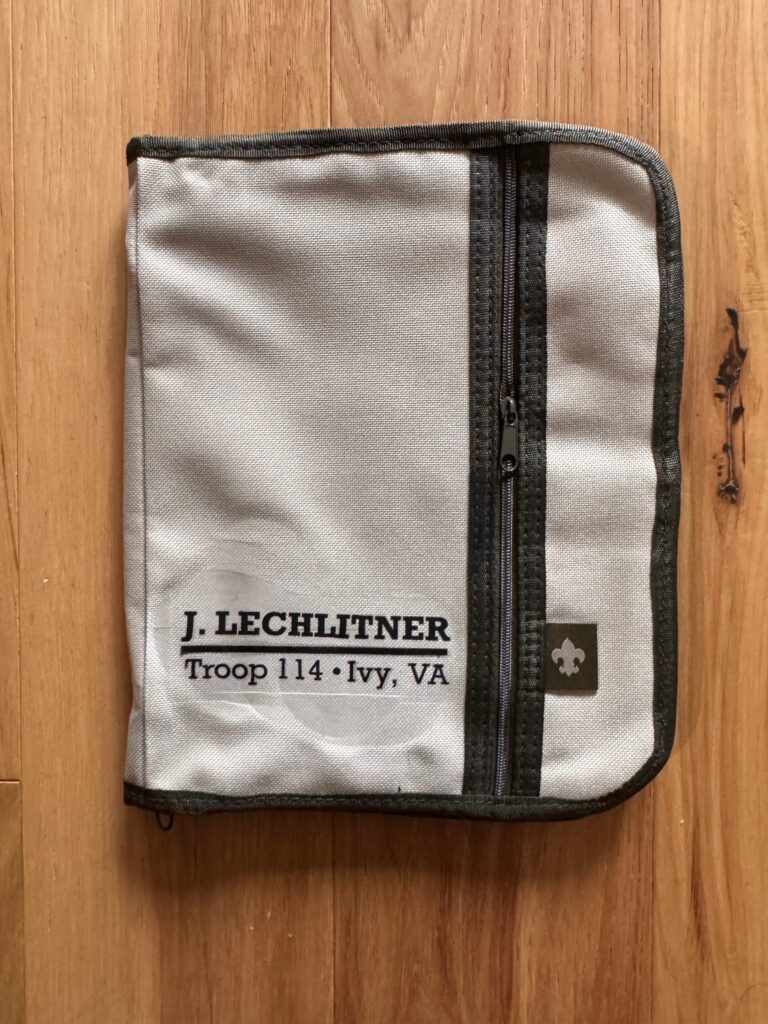
Align the vinyl wherever you like. I find that having it low on the handbook cover works for me, so I place it around the fleur-de-lis tag.
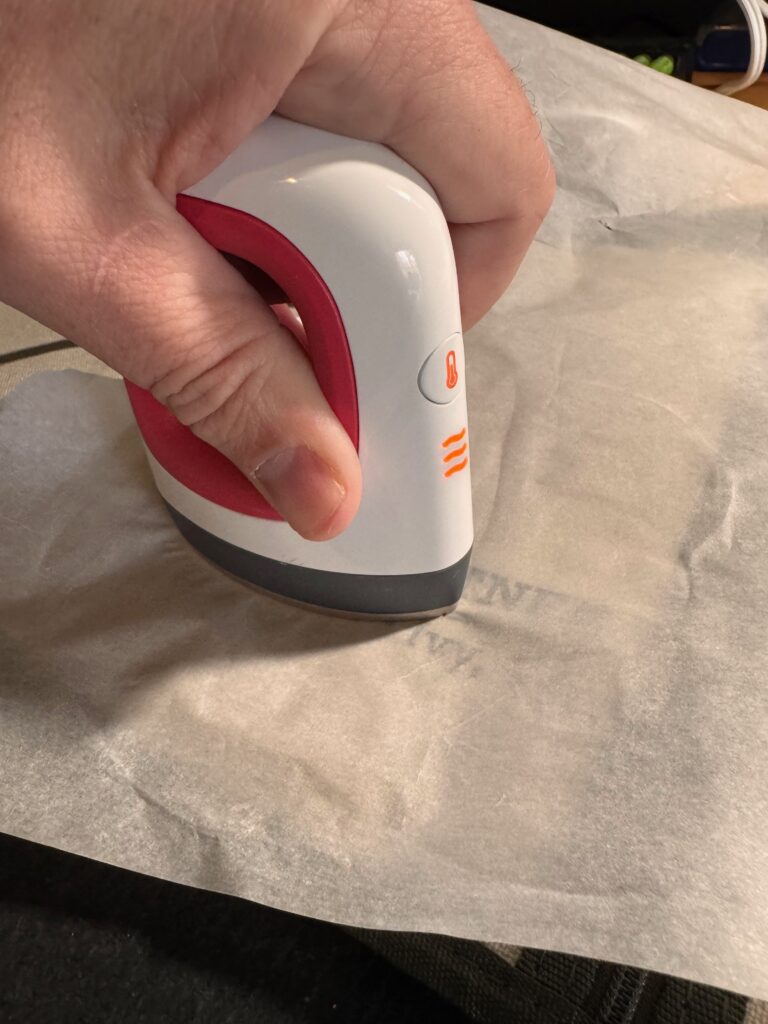
I use an older Cricut EasyPress Mini (link is to the newest version) for this. You’ll have to experiment with the heat settings but I find the hottest setting works best. I also use some parchment paper in case I overheat the cover a little to make sure it doesn’t stick to the press.
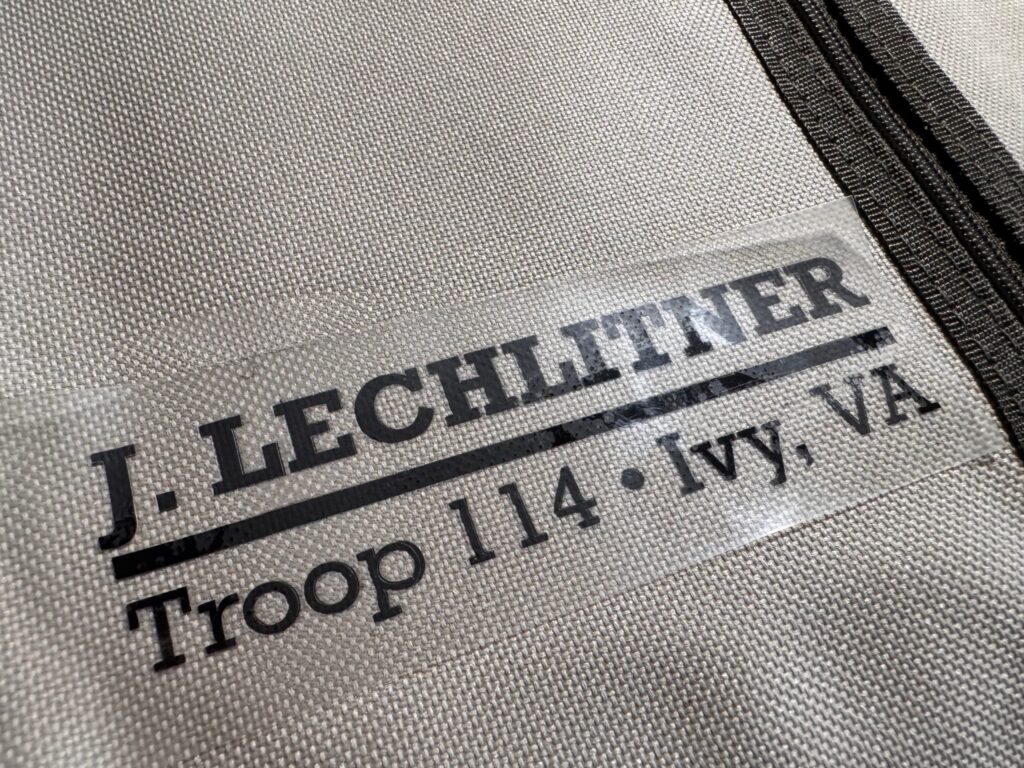
Here you can see that the vinyl is starting to adhere. You can see by the sheen change. I try to press down for about 30 seconds at a time and check my work.
You can see where I pressed down pretty hard to get this to adhere. I had some issues with this one and ended up having to re-cut parts. If that happens, heat the vinyl back up with the parchment paper and use a weeding tool to gently remove any bad parts. It will come off eventually!
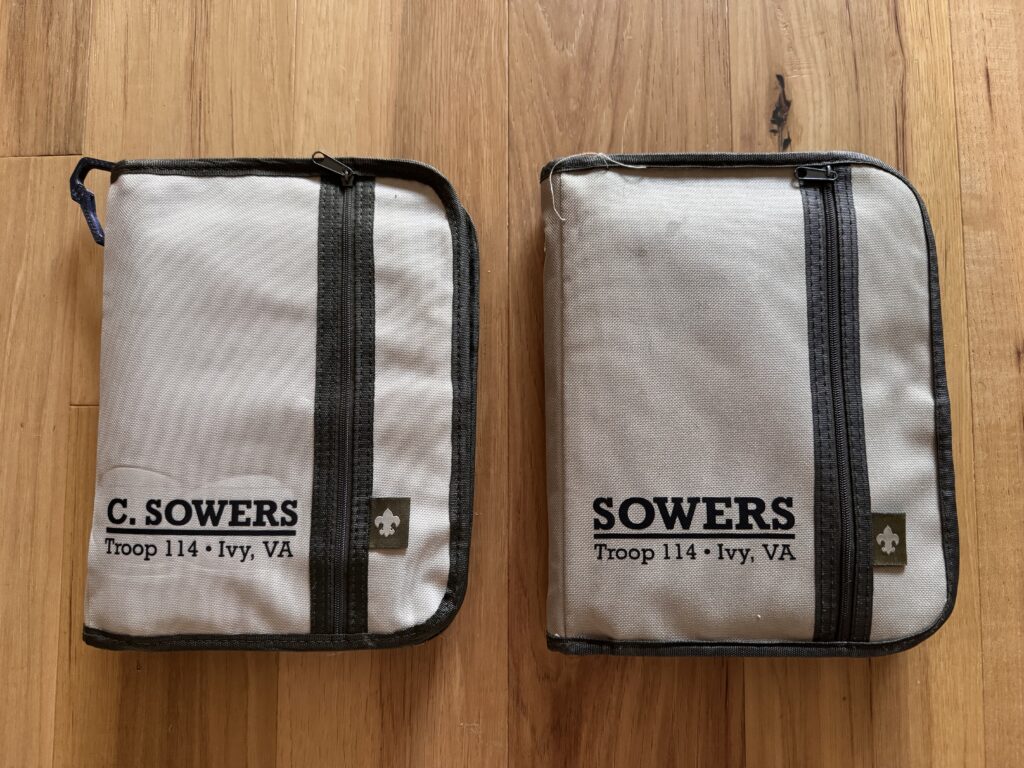
Here’s an example of what it looks like new, and after about three years of use. Other than a bit of discoloration from lots of good use on camping trips, the handbook cover has held up pretty nicely. If the book inside is losing its cover, check out this guide on how to replace the cover.
Leave a Reply