
If your Scouts are anything like mine, you probably see a lot of handbooks missing their covers.
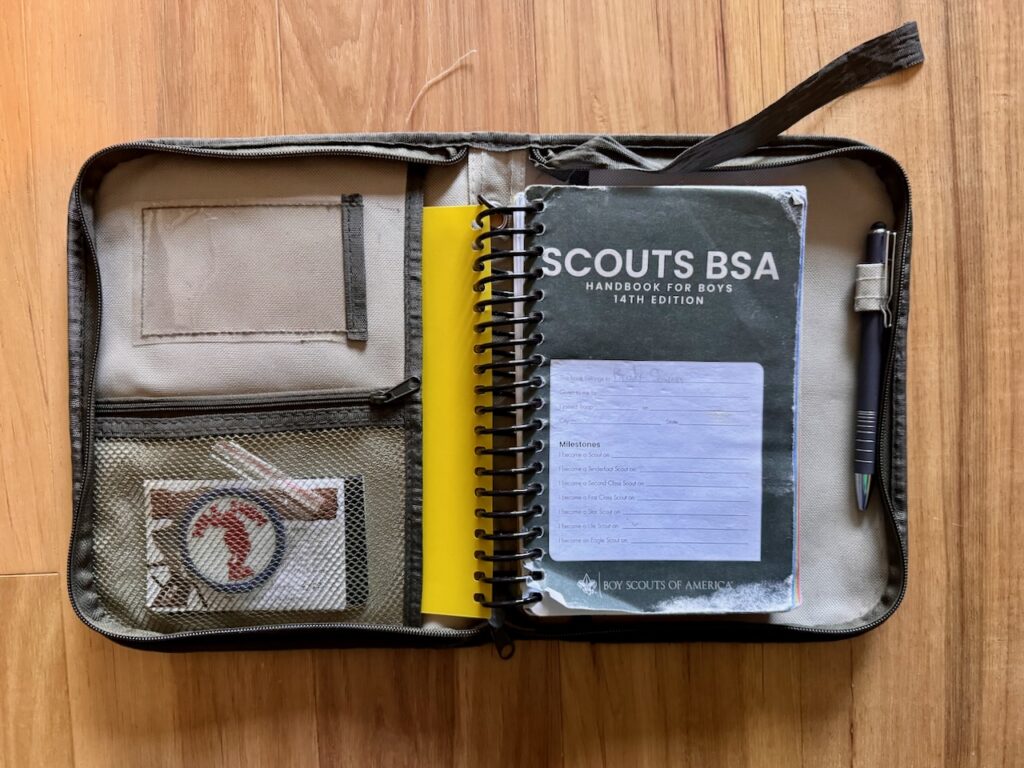
In some ways, this is something of a badge of honor for an experienced Scout. It is a Scout’s trusty companion, with the bindings loosened from time spent shoved into an overstuffed backpack on a hike, or weakened from being in a leaky tent during a rainstorm. My own handbook is no different.
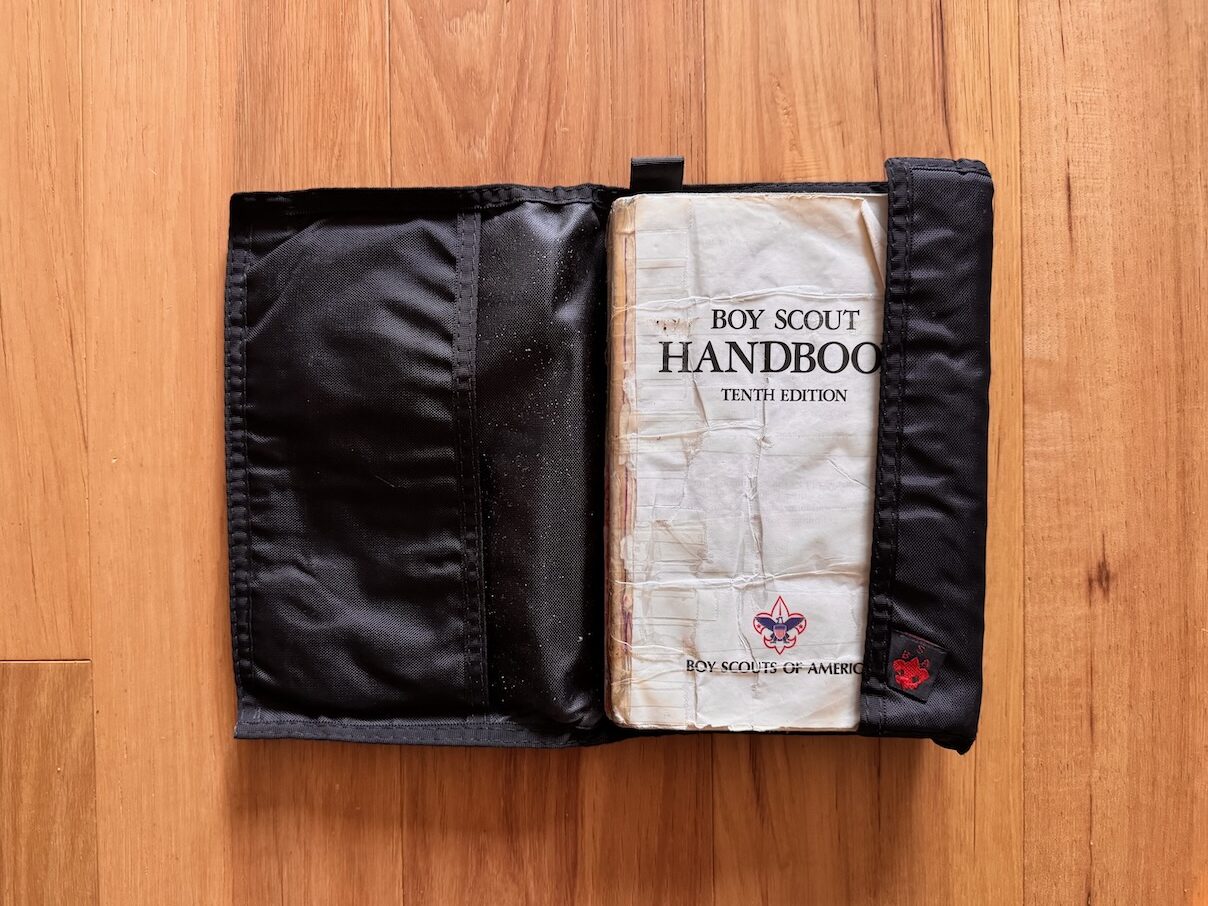
Our pack decided to mitigate this issue a few years ago by giving out the canvas handbook covers as a gift to all our crossing over Arrow of Light Scouts. We add their names and troops to the cover with Cricut vinyl (more on that here) to tell them apart and aid in getting the handbooks back to us if they are lost at camp. But, time comes for us all. My oldest son’s handbook cover finally lost the last bit holding it on, after only about three years. Fortunately, I have come up with a fix.
We came home from a camporee this weekend with the kind of polypropylene folder used to hold loose pages in a three-ring binder. Since we were going to throw it out anyway, I decided to try cutting it on my Cricut. I cut it in half to fit on the mat, which gave me two attempts to cut a front and back cover.
First, I needed a template. I carefully removed the ring material, and chose a page from the middle of the book that had the least amount of wear. After a quick scan, I had the overall dimensions and the shape of the holes on the side. It was quick work to recreate this in Affinity Designer.
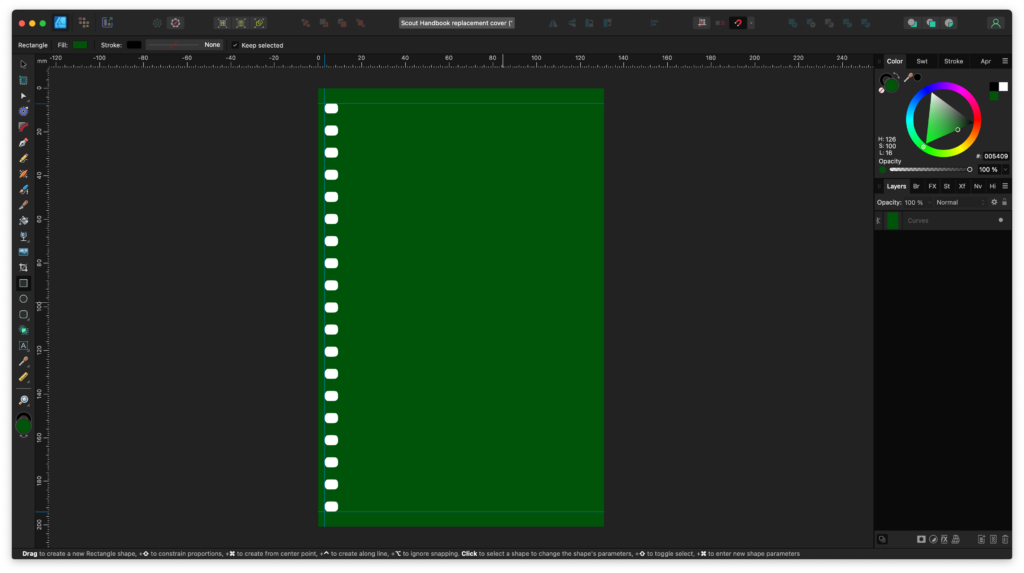
I exported the design as SVG and imported it into Cricut Design Space. There was enough space to make two covers.
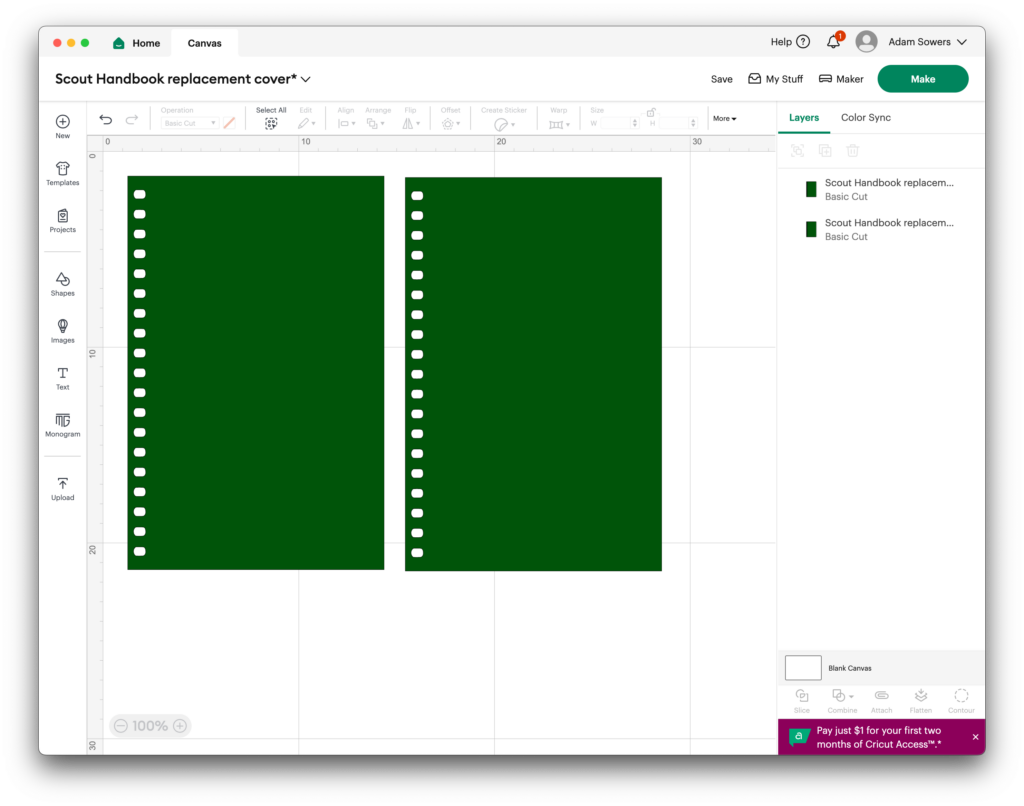
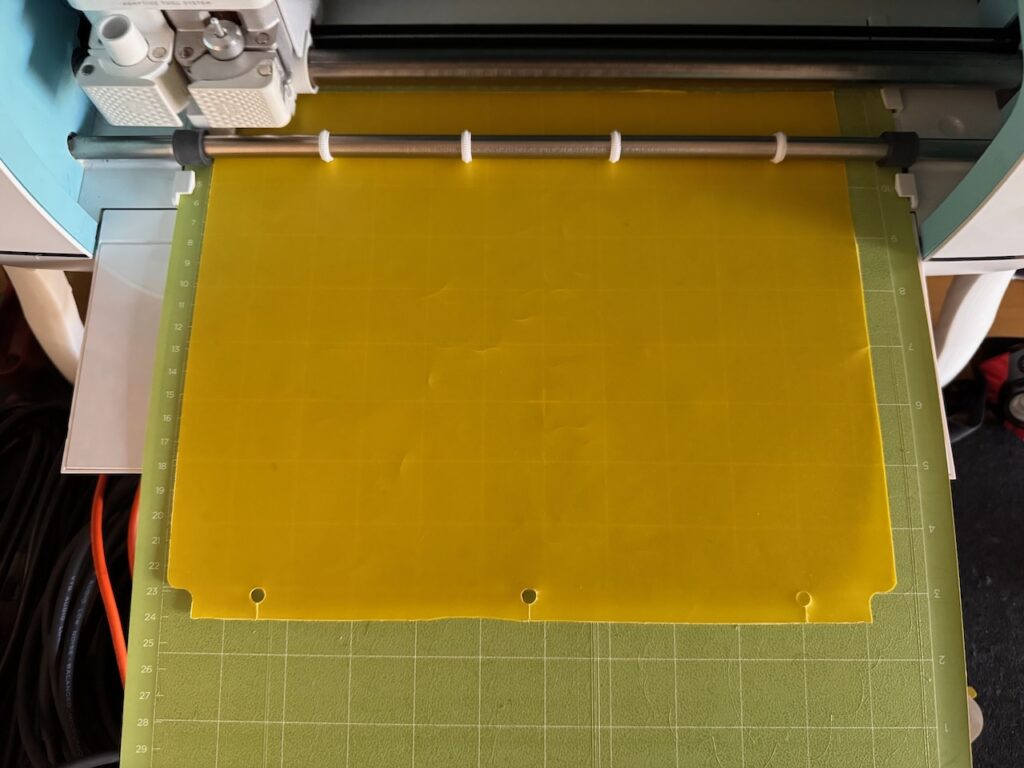
When setting up the cut, I chose Heavy Cardstock - 100lb (270GSM) for the material. This gave me some nice deep cuts.
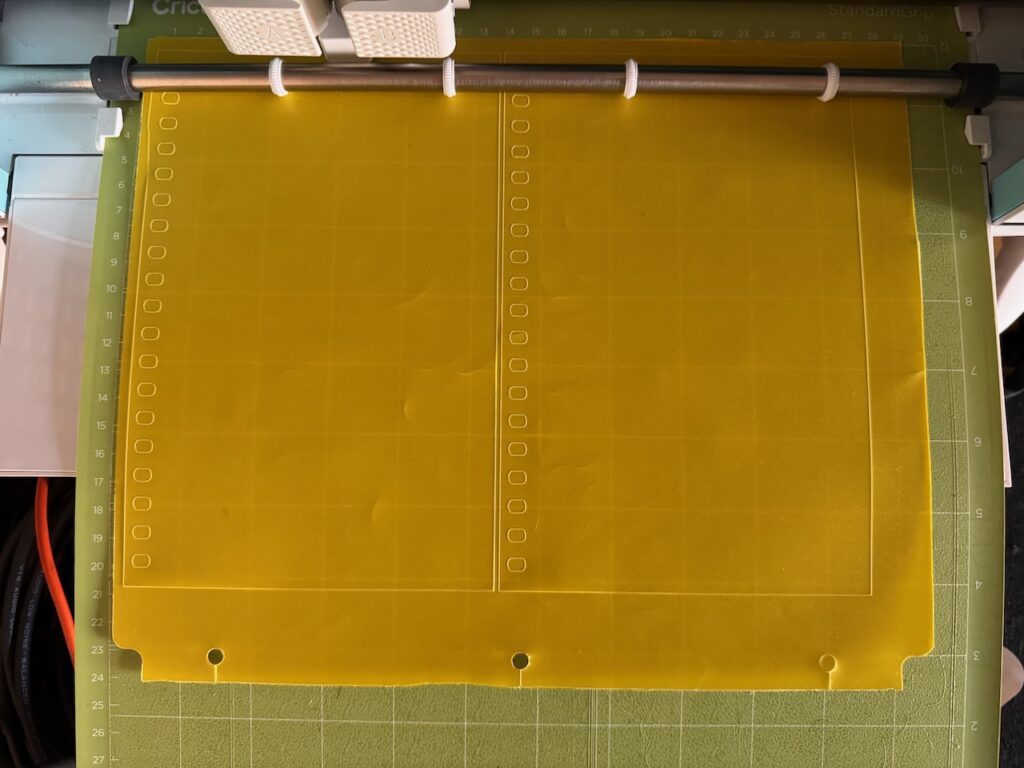
The covers pulled right out, and it was easy to remove the leftover material with a spudger. The final step was to carefully reattach the ring material to the book. If I did this again, I would at least consider heating up and straightening the bent end to make threading the ring a little easier. But, after a few minutes, I was done.
My wife had a great idea: what if I 3D-printed a cover instead? Since I already had the SVG file, it was a simple matter of importing it into OpenSCAD and extruding the shape upward. I chose 1mm because I knew I would be printing with .2mm layer height and 5 layers would be relatively strong.

// height is in mm. Change if necessary
linear_extrude(height=1, center = true) {
  import("/path/to/cover.svg", center = true);
}
I then took the STL and loaded it into my slicing software. You could also scale the z-height in your slicer to adjust the thickness if desired. I printed in high speed TPU so the cover is tough but without added rigidity. It may also work with something like PETG. I would worry about PLA warping in the heat, for example, if the handbook is left in a hot car during the summer.
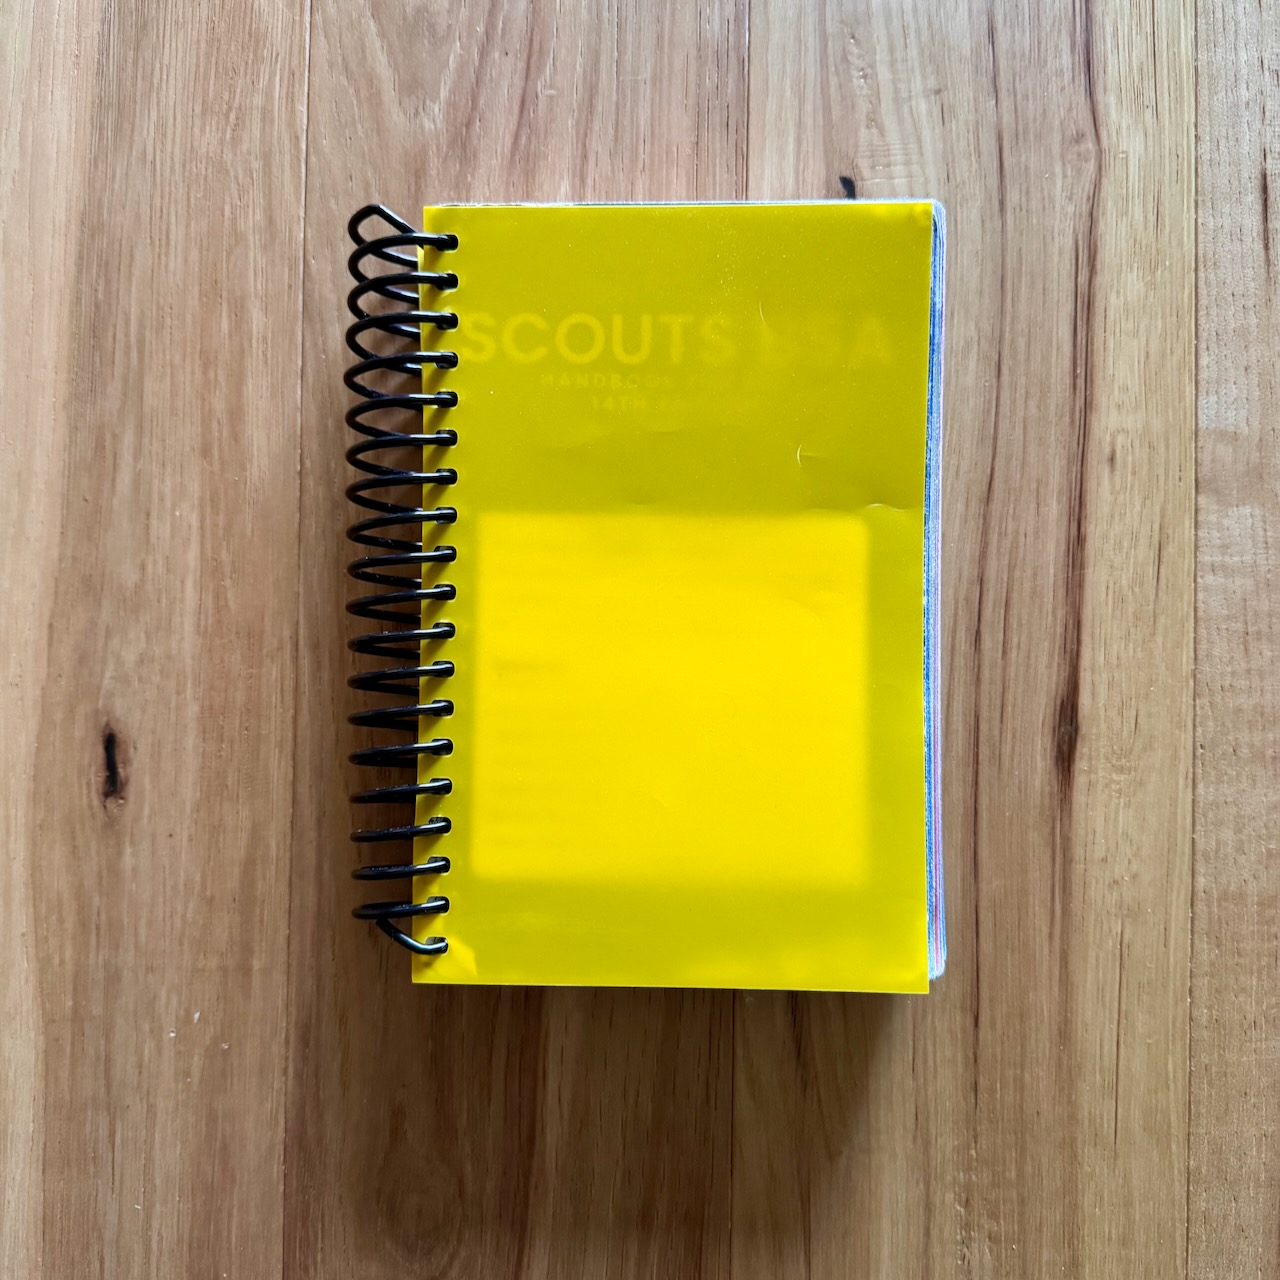
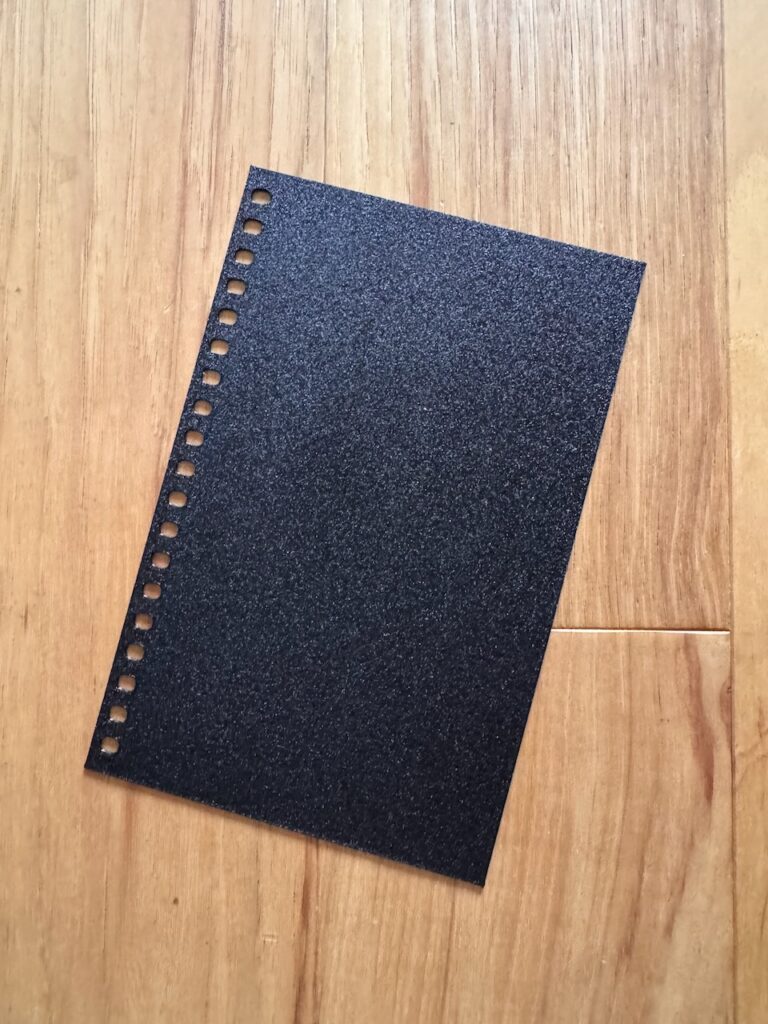
The 3D-printed TPU cover has a really nice sheen from the textured build plate I used. You could extend this to include details on the cover like the Scout’s name, and print in two colors!
I am releasing these files under the Creative Commons Attribution-NonCommercial-ShareAlike 4.0 International license. Feel free to make these for your scouts, but do not sell them, and please cite me in any remixes you create (because I want to see how you are improving them!)
The STL (for printing) and SVG (for cutting) are available here.
Scout Handbook replacement cover © 2025 by J. Adam Sowers is licensed under Creative Commons Attribution-NonCommercial-ShareAlike 4.0 International
Leave a Reply to Personalizing Handbook Covers – ScoutHacks Cancel reply